How Can We Help?
Connecting Line Segments
The OSM data we downloaded using Quick OSM is actually really impressive. It’s got loads of attributes for all of the line features (we’ll look at using those in another guide), and the rail line’s even been broken into segments for different speed limits. That’s great for adding rail traffic, but not so good for the visual representation of the tracks themselves, since the tangents at the ends of the lines might not align to give us continuous rails. So we need to connect them together to use them as landscape splines.
Step 1
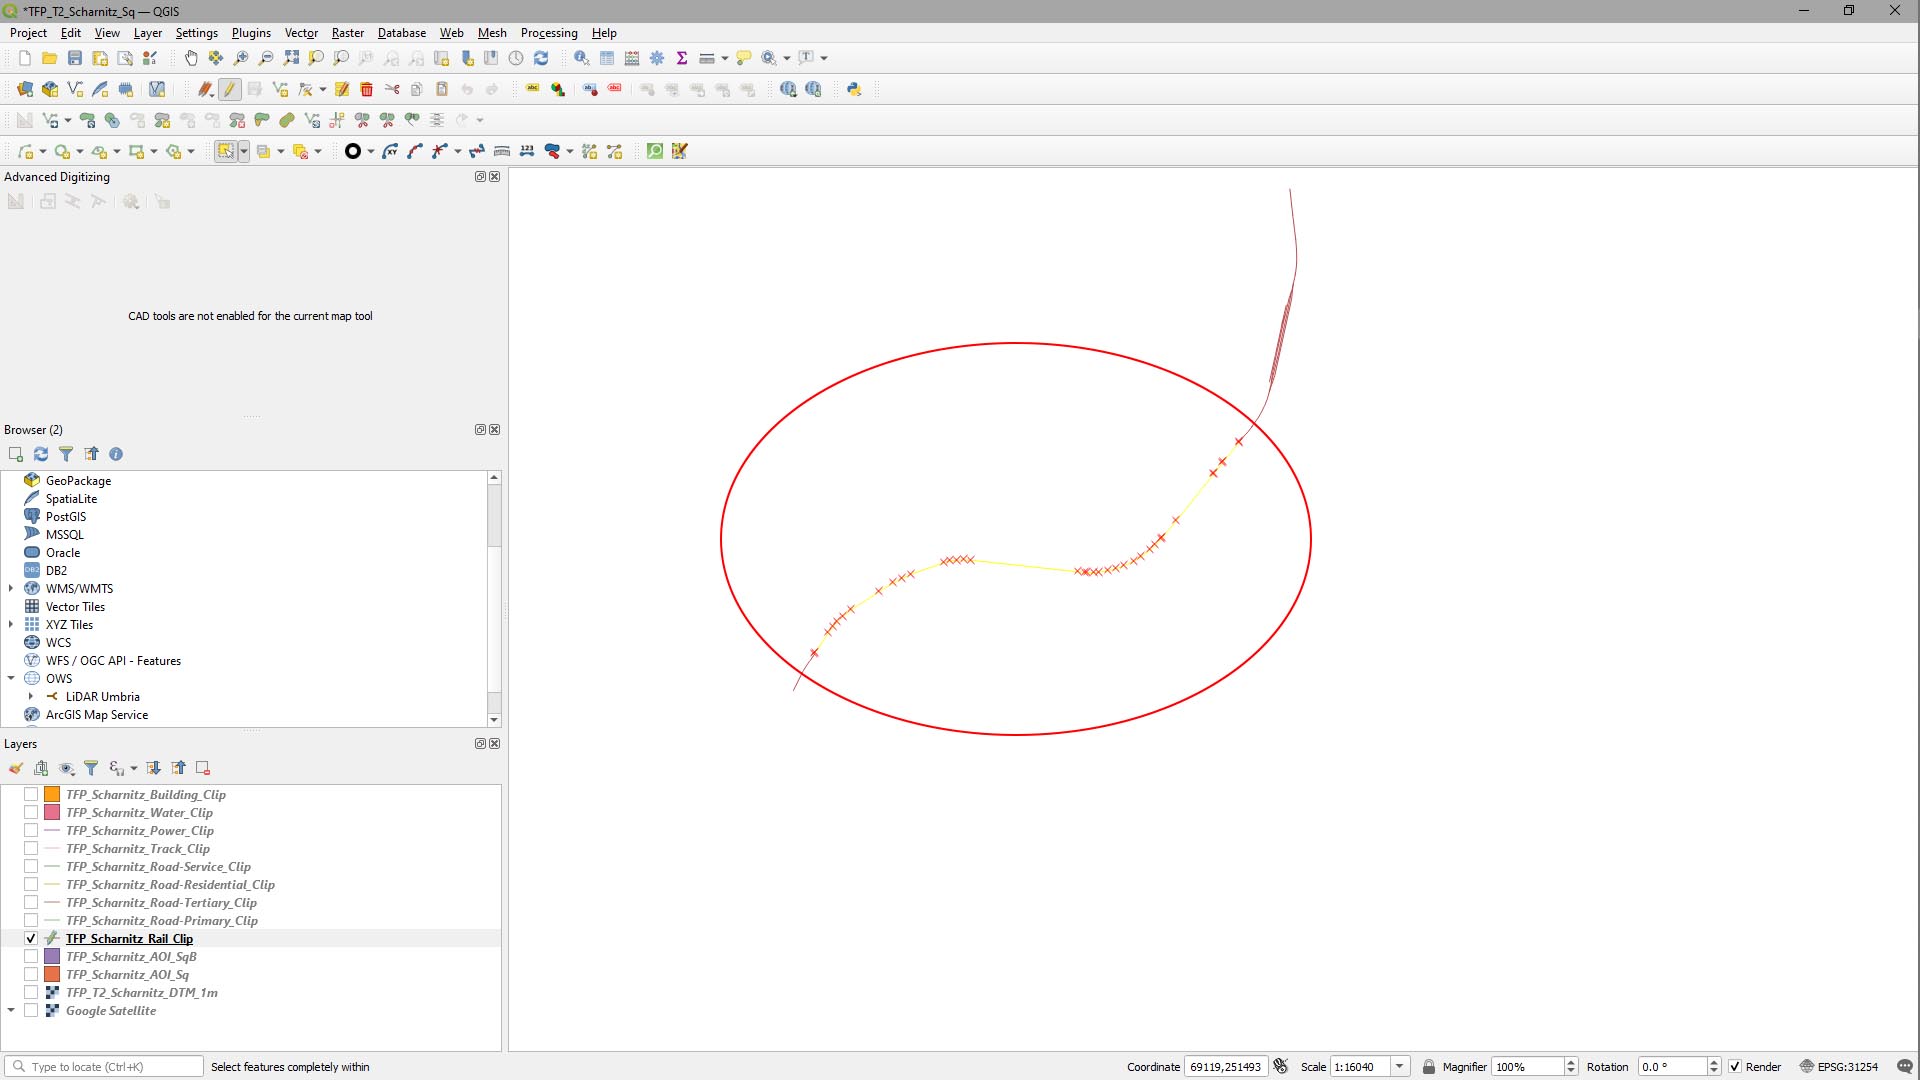
Before we begin, it makes life easiest to turn off all the other layers to leave just the rail lines layer, so we can see what we’re working with.
- Hide (Uncheck) the other layers in the Layers panel, except the rail layer.
- Select the rail layer in the Layers panel, then click the Toggle Editing button, and the Select Features by Area or Single Click button.
- Next, click on a section of the rail line to see how much of it is selected. If all the segments of a continuous rail are selected, we’re good; if not, we need to connect them.
Step 2
In the data we’re using here, the line segments that should be continuous aren’t, so we’ll connect them:
- Select all line segments to connect to a single rail using (holding [shift] with the Select Features by Area or Single Click tool allows you to select multiple segments.
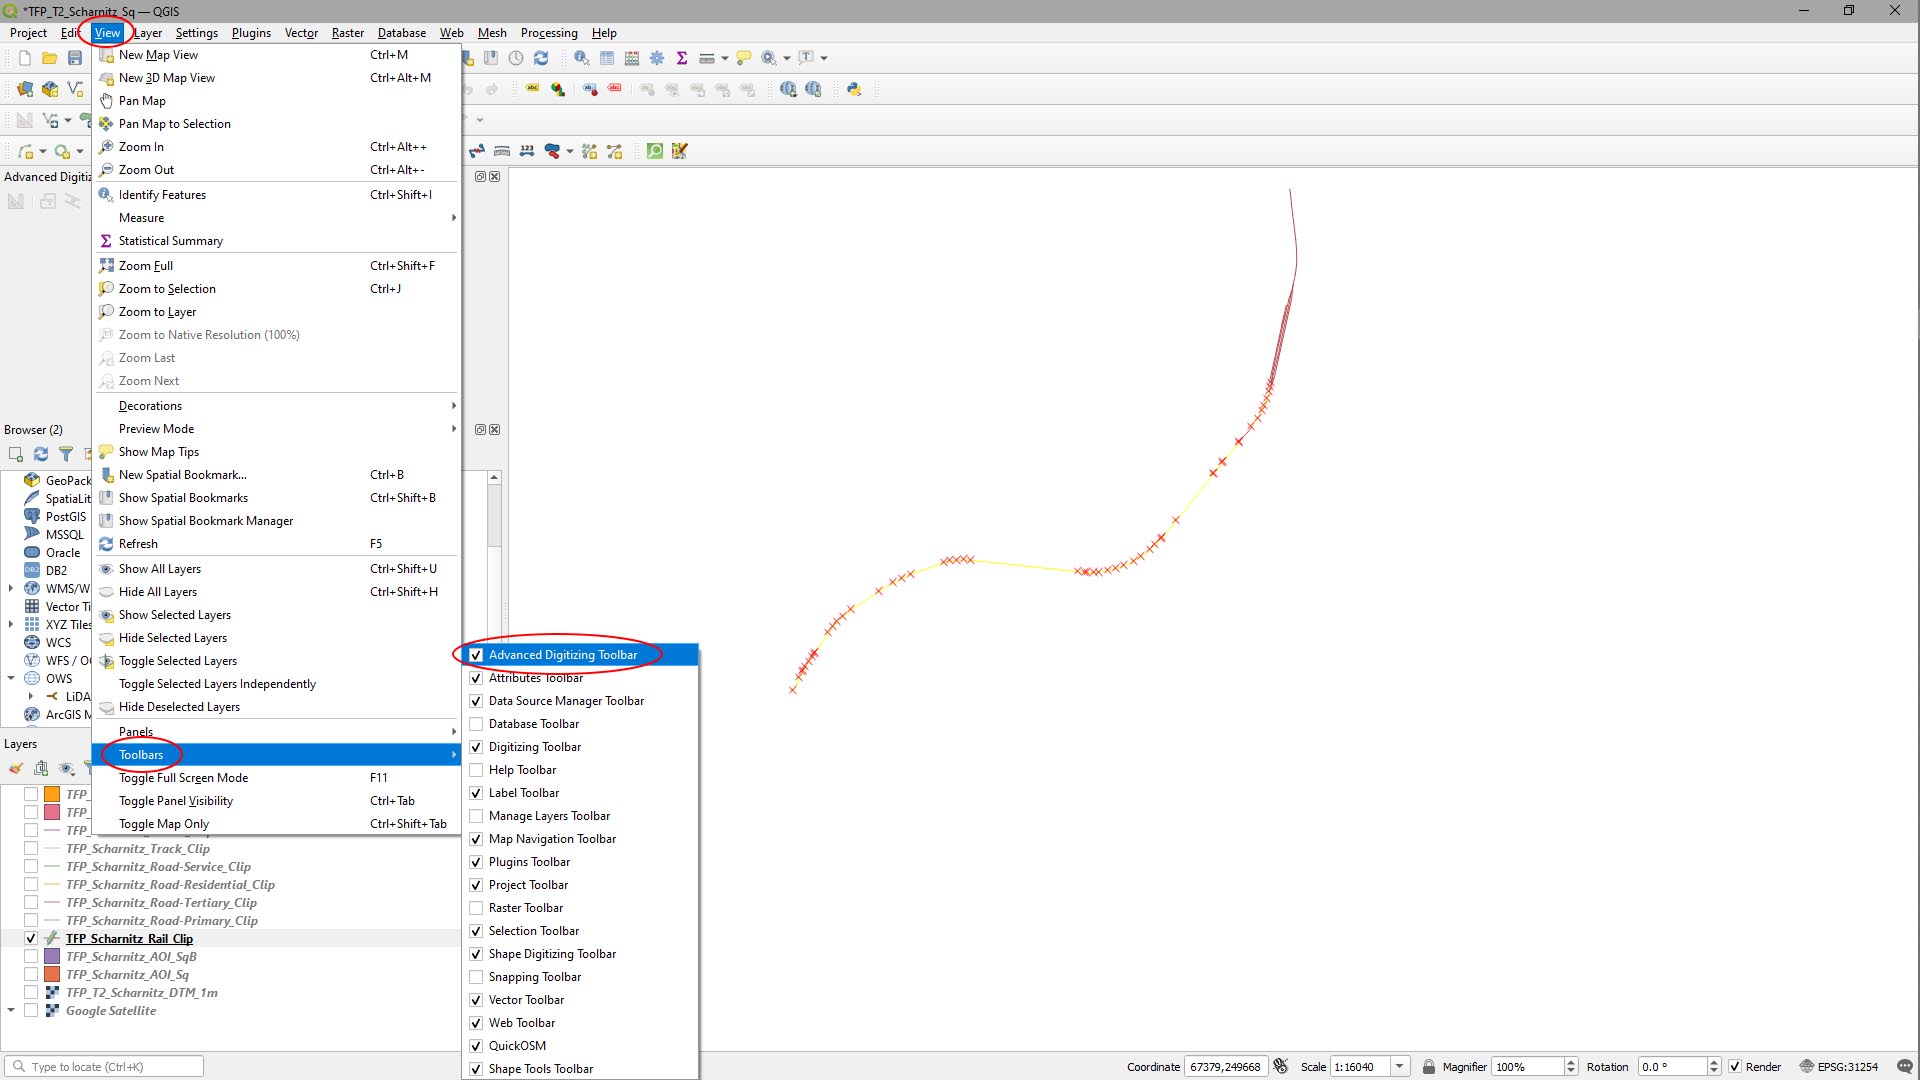
- Make sure the Advanced Digitizing Toolbar is on (Main Menu > View > Toolbars > Advanced Digitizing Toolbar).
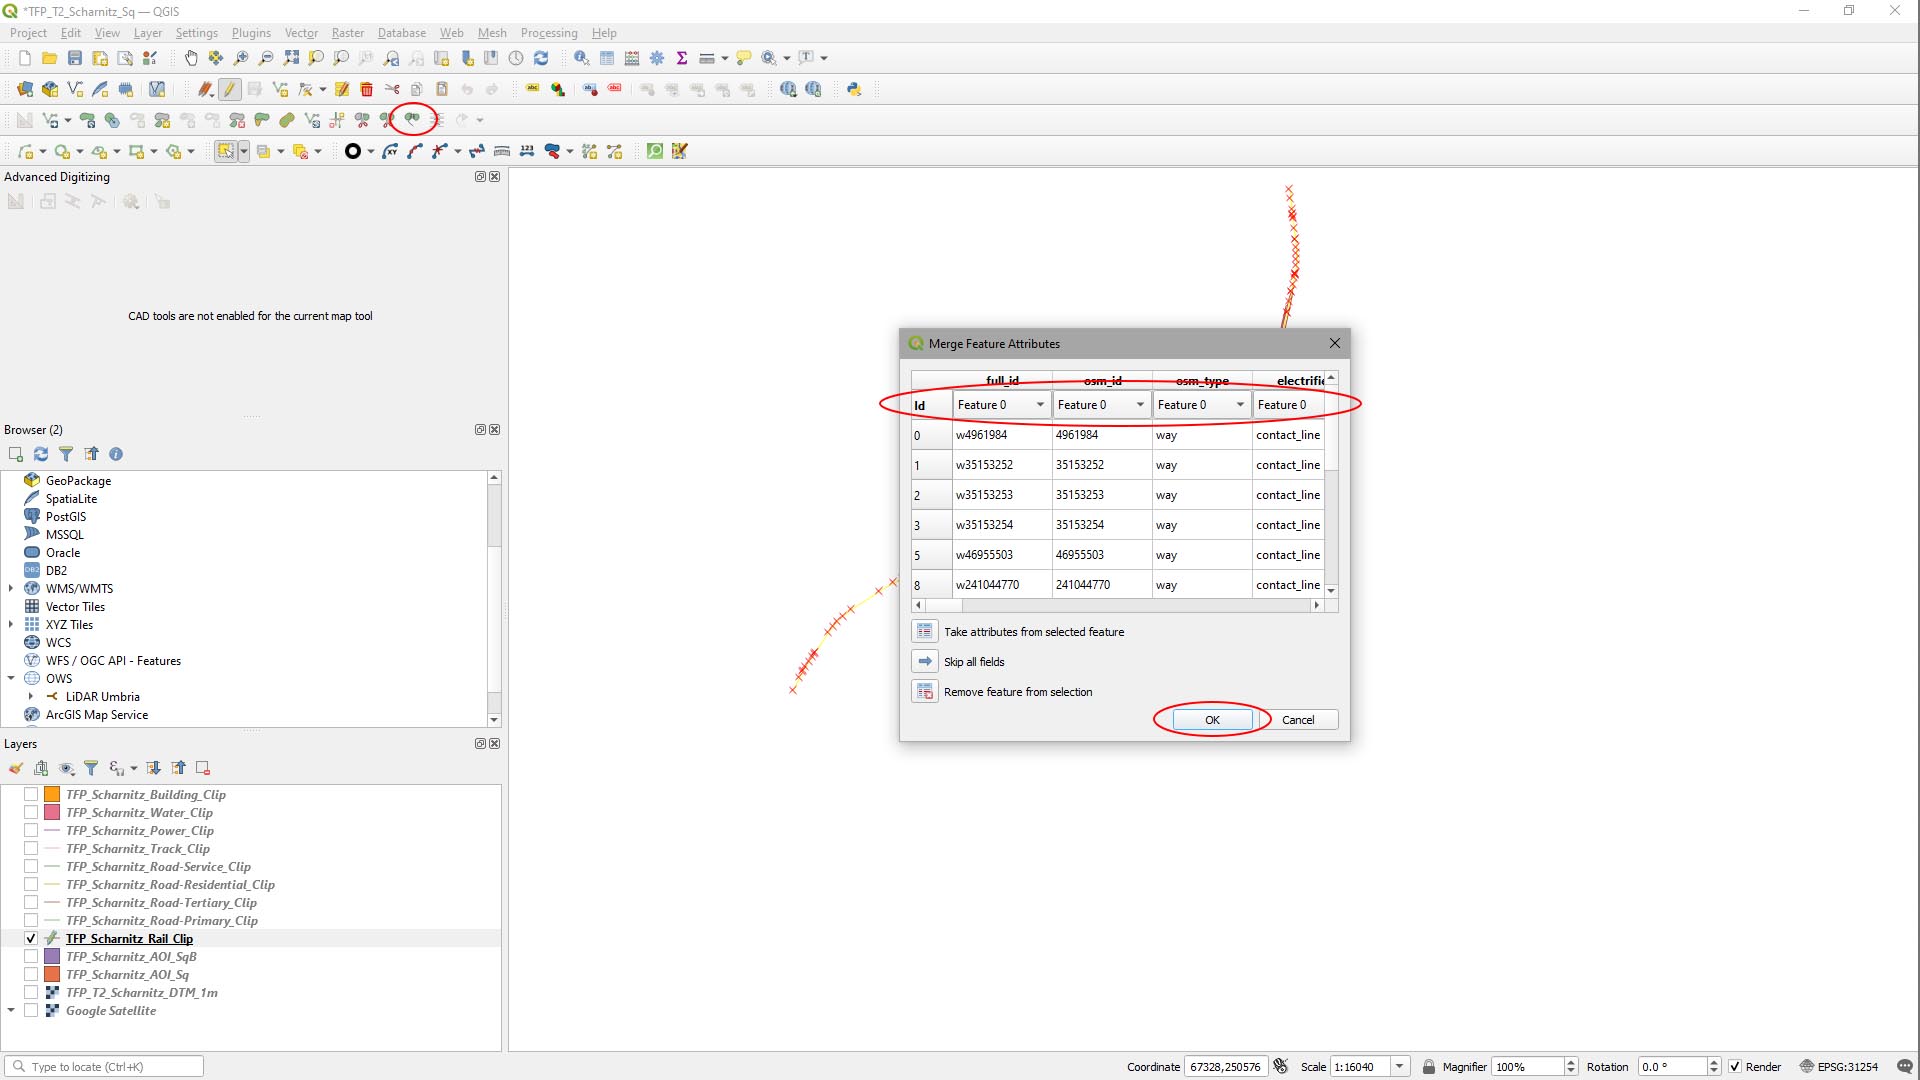
- With all the continuous segments selected, click the Merge Selected Features button on the Advanced Digitizing Toolbar.
- Our data has attributes, so QGIS will launch a window to ask us how to Merge Attribute Features.
- We’re just going to use the default setting of using the attributes from the Feature0 ID.
- Hit OK.
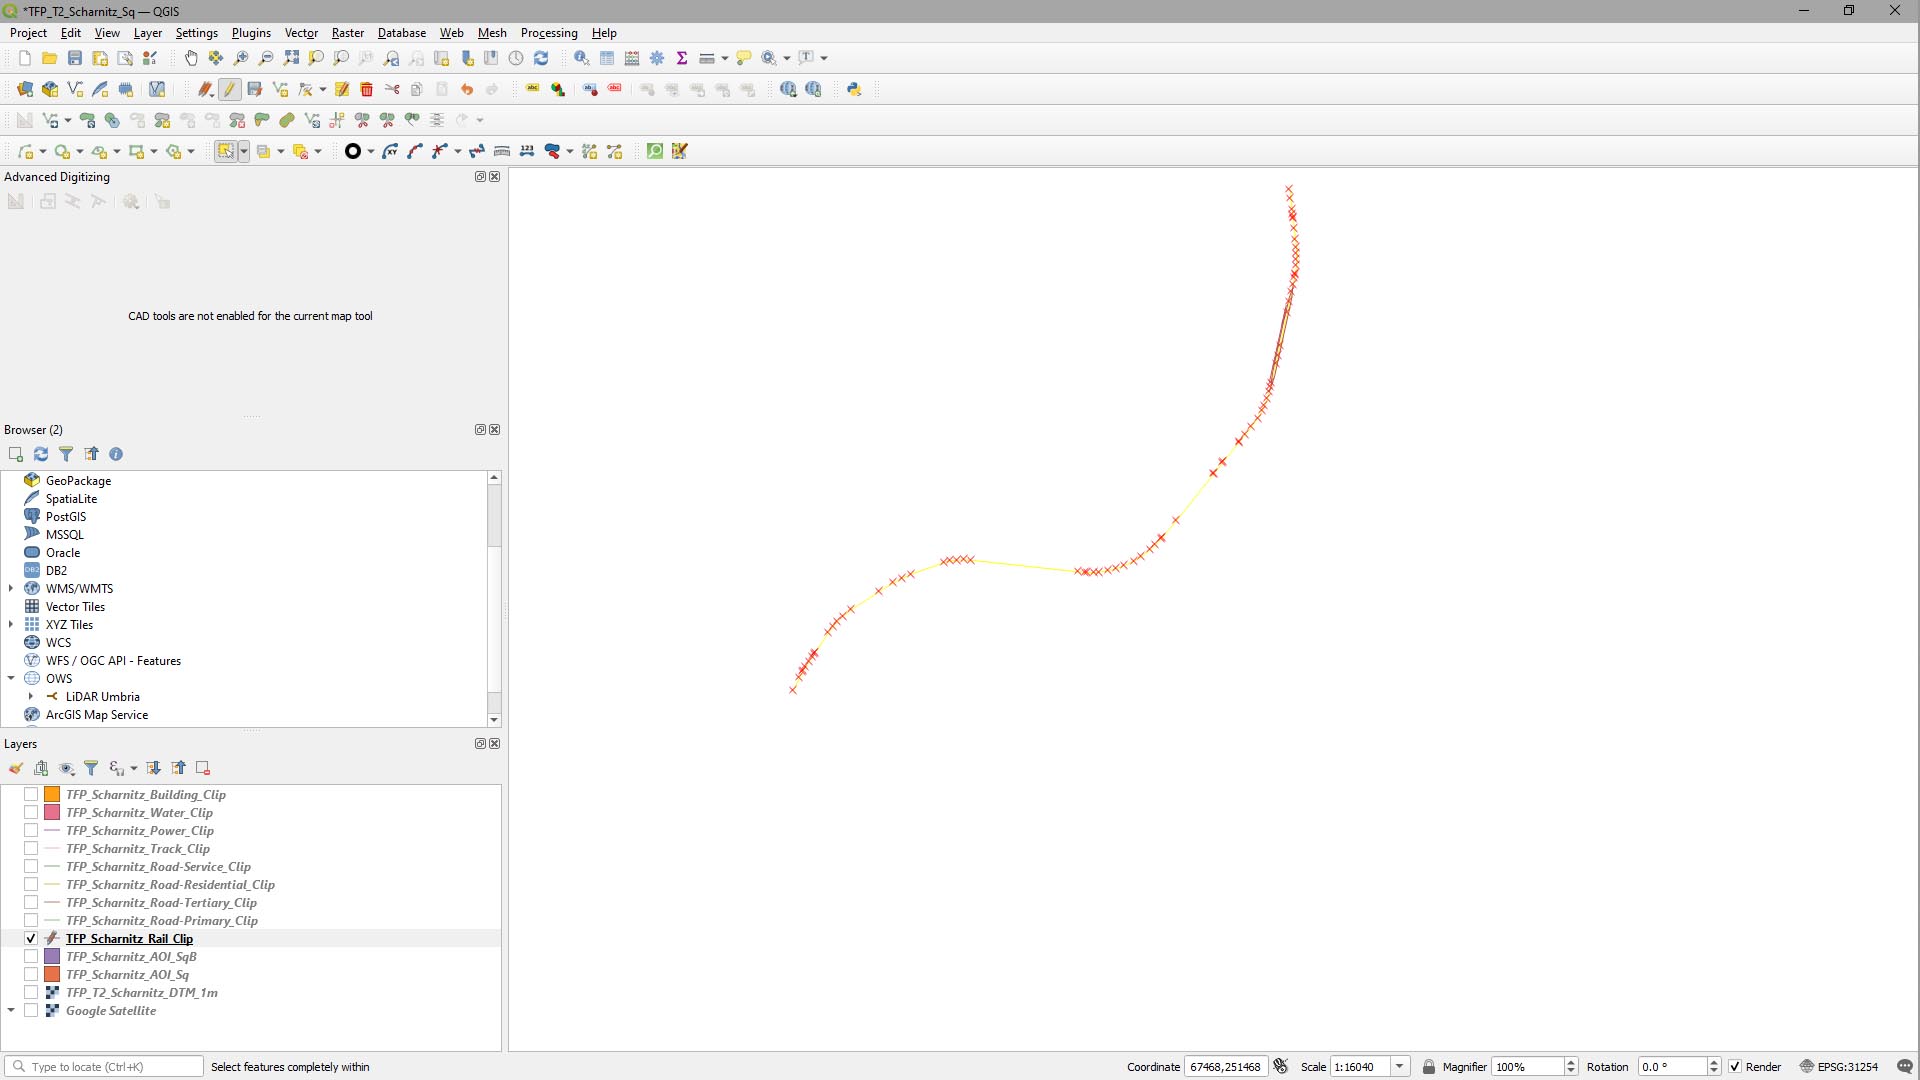
- If you now go back to the Select Features by Area or Single Click tool, you should be able to select the entire rail line as a continuous segment.
- Repeat the above for as many lines as you want to be continuous in your data layer.
Step 3
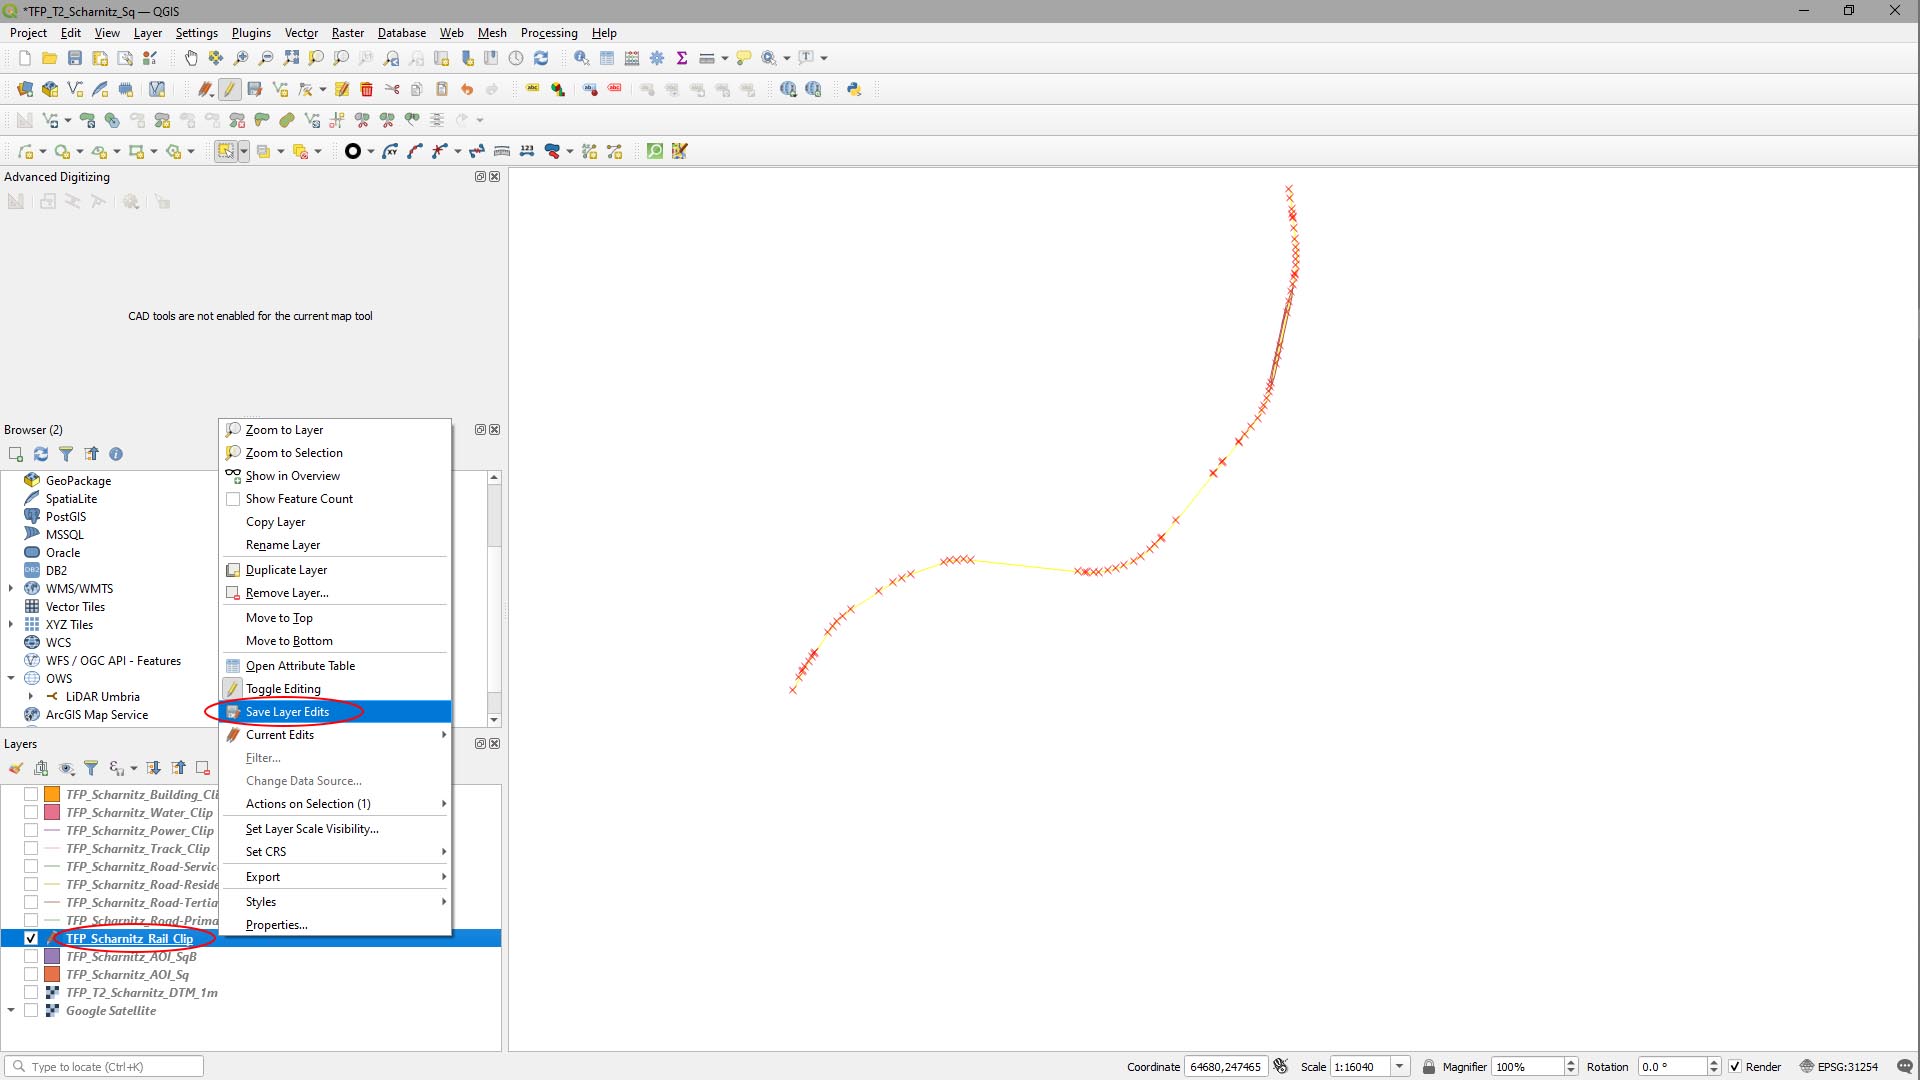
Once you’re done editing, you can save the layer.
- [Right Click] on the rail layer in the Layers panel and select Save Layer Edits.
Step 4
Repeat Steps 1 to 3 for the other layers of vector line data in your QGIS project.